Audio Rack – DIY
DIY Audio Rack
In this article, we’ll make an excellent audio rack. That rack in the store costs a lot of money and it is by its appearance and by its sound a very serious product. This is an audio rack of three independent shelves that are made of MDF 25 mm thick and the adjustable legs are made of aluminum tube thickness of 30 mm. The pipe walls are 10 mm thick. With three adjustable legs, we achieve the lowest point of contact on one component over another. You probably already know that aluminum is the best acoustic material for this purpose.
This is also called a record player stand in some cases.
Legs with spikes that are independent of each other is a little problem to do because you first need to find an appropriate aluminum since aluminum is the best acoustic material. Otherwise, the world’s most known manufacturers wouldn’t produce housing for drivers exclusively of aluminum. Those who want to get cheaper can use silumin alloy, normally with the creation of high-quality molds for casting the same housing.
So far in our practice, a spike made of aluminum showed very good as a unique material in audio system with excellent acoustic properties, so we personally in out practice installing only aluminum spikes in each component, nevermind if it is a deck, turntable or CD player. The amplifier is a must!
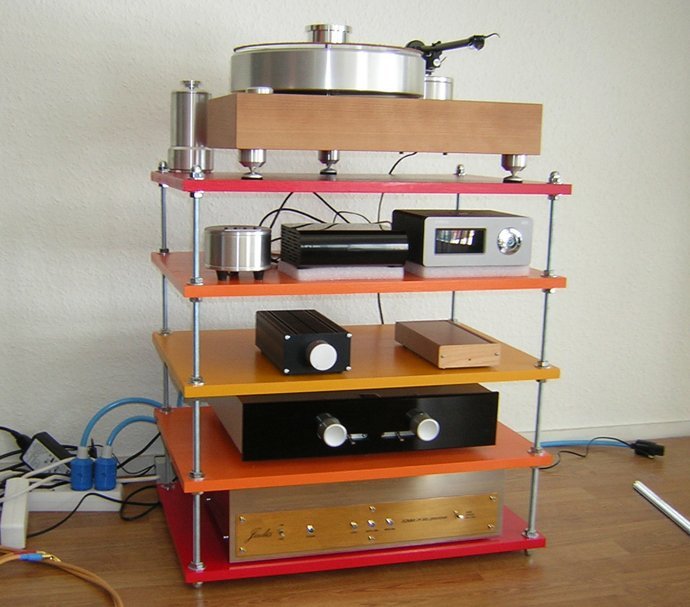
In the first picture, you can see my friend’s system which is placed on this rack.
Legs on our rack are made of aluminum tube diameter 30 mm and the diameter of holes is 15 mm. Hole diameter corresponds to the thread M 16 x 1 mm. We use fine thread to be able to fine leveling the table, it is desirable to be as accurate as possible because the audio component will be placed here.
Pin height depends on the size of the audio components. Most audiophiles reaching for as lower components as possible. We have taken into account that the average height of an audio component is 80 mm. These pins we made to be 150 mm in height with a pin that has a height of 38 mm, which means that the pin height is 112 mm +/- 0.1 mm, which does not mean anything because leveling is definitely done after completion of wooden panels.
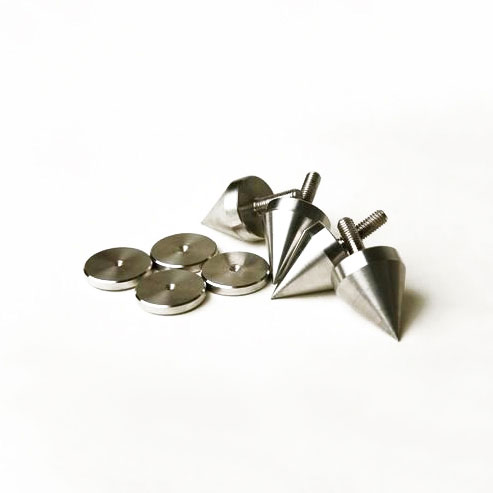
Picture 2 shows one set of legs, this is the main pin, on both sides is a precision thread made on a lathe, thread dimension is M16 x 1.
The right side of the picture shows a spike in its shape, length 30 mm. Detail of the left side shows a counter nut for leveling and clamping of a pin since due to vibrations from the bass speaker the pin can become loose, although this rarely happens.
Counting that maybe someone wanted to change the board and possibly experimenting with the base, ie. base on the upper side, in this case, he has 28 mm clearance, ie. of the thread to experiment with surfaces which means he can put a thickness between 5 mm and 25 mm. It can put different kinds of materials that have, and we would still strongly recommend that put only MDF or chipboard. Glass as a surface destroys sound because the glass is a cold material, non-absorbent, and all the sound coming to the glass is rejected and destroying the already poor sound of a component. MDF and particleboard are, in practice, proved to be excellent acoustic material.
Our upper surface is made of MDF 25 mm thick (picture 3), the dimensions of the surface are 620 x 440 mm(outside dimensions), anyone can imagine the final shape because the stranger shape of record player stand is the price is higher. Since homemade usually no one has a woodworking machines and carpenters are very expensive there is no other choice but to draw the surface and determine the form of the free lines. For details and curves we used sandpaper granulate 40 and if it is possible use a metal sandpaper because it lasts longer. Use rubber pad, put sandpaper onto it and go get grinding.
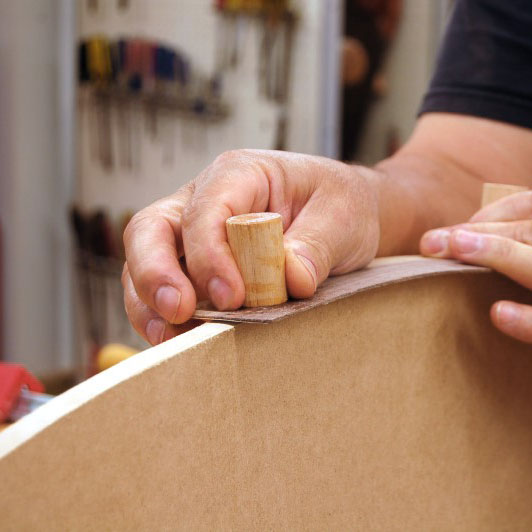
Upon completion of rough work we move on to finer and finer until we get to the contours of which we wanted. Upon completion of sanding and shaping outer parts, we need to paint the edges/corners and prepare everything for dyeing. If there are accented prominence we will use a wood filler, but only after the first coat of a primer color is dry. If we do in reverse it would consume more wood filler than a color, which means the wood must be primed first, but only after the grinding of the primer color, because primer color tends to roughened a little bit.
Go with your hand lightly on the edges/corners that you have created and find errors that are encountered during rough grinding (the faults are surely there because manual processing is not like machining). These errors fill with wood filler only. After some time, this filler should be sanded and if necessary apply wood filler again to surface to look the way you want. Prior to the main coloring/dyeing should pierce three holes of 20 mm to the pin set.
Why 20 mm? Because this is hand made and there is no such master who will punch holes in three places in three or four plates with the drill of 15 mm, and that it does not drag the machine out of the hands. We can have 15 mm only if the board is made in a factory and it provided that all 4 boards are clamped together and drill 15 mm hole at once.
We know from experience that drilling like this can lead to shear, in which case the tops of the spikes will not lie in the center which is very important for this type of table. Because in the upper part of the threaded plug hole there is a very small mark opening, maybe only from 0.2 to 0.5 mm deep to the next shelf relied on the lowest common point. We hope we have now explained in detail why we drilled a bigger hole so we can maneuver with a leg and set them in the right place so that record player stand is on one level.
And the picture itself shows like it is one component, in fact, they are three completely separate and independent components.
When we drill the holes, we must control that sometime during drilling a piece of MDF isn’t tore off because it is often the case, since no hand drill has high speed, and the solution for drilling wood is the high speed. Only with the high speed of drilling we do not break and tear off pieces of wood. In that case, we will apply a little bit of wood filler a flat trowel and sanded when dry.
Here comes a great moment of completion, it is up to you to determine the color that will adorn your audio rack. I used high-gloss black lacquer of a German paint manufacturer called FLAMINGO. We heard that this lacquer is used for dyeing of musical instruments such as pianos. This lacquer is scratch-resistant and impact-resistant and is also very glossy. It is dry after 3-4 h to the touch, but we would recommend that still stand for two to three days to get a good dry.
When it’s all over assemble all very carefully.
Conclusion
You will have something that you can say: I’ve saved at least 600 $. You might not believe me, but these audio racks on the European and American market cost between $ 500-800, but you have to realize that the only handwork has a price.
We saved approximately 400$. The price of MDF, boards, primer, wood filler, lacquer, etc. costs us 200 $. If someone thinks to engage in something like this, we wish him a bit of good luck! For this record player stand, never mind what it looks like, but you can say this is mine.
If you don’t like to do an audio rack by yourself, or you are just lazy guy maybe you will be interested in some market products below:

- Can hold up to 4 AV components
- Assembles in minutes - quick and easy to assemble with included owner's...
- Integrated CMS Cable Management System consists of two removable rear...
- 3 height-adjustable interior wood shelves and cabinet base all feature...
- Tinted tempered safety glass door allows for remote control use
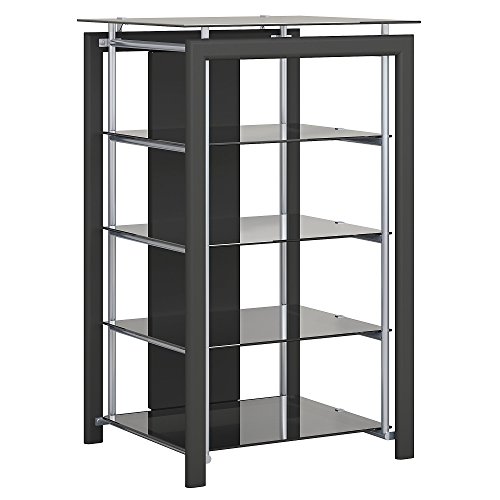
- Tempered glass shelves rest on vibration dampening pads for enhanced sound...
- Attractive open architecture with black, bright metal finish and glass...
- Back panel provides rear wire access and concealment to organize your audio...
- Tested to Bush Furniture standards for tip stability
- Backed by the Bush Furniture 1 Year Manufacturer's Warranty
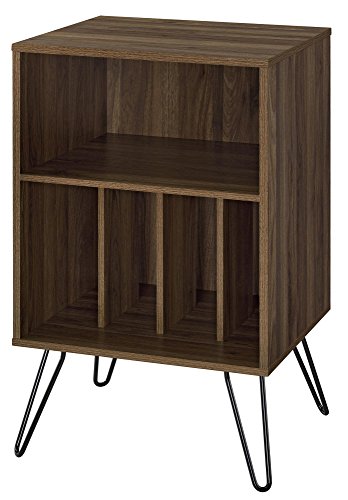
- Take it Back in time with the Novogratz Concord turntable stand
- The medium brown woodgrain laminated particleboard and MDF offer a strong...
- The stand is the perfect size to place your record player and keep your...
- Complete your collection with other Novogratz items (sold separately)
- The Novogratz Concord turntable stand ships flat to your door and 2 adults...
More from my site
 Bettilt Casino: eğlence ve tehlike düzenlenmesi ile harmoni
- Pin Up Casino Onlayn Azrbaycan.3640 (4)
- Historias de grandes ganancias y PayPal en casinos latinos: guía práctica para jugadores en Ecuador
- Mərc dünyasında yeni səhifə – Pinco ilə qazanmağın həyəcanı və sirləri sizi gözləyir!
- Desafía a la suerte con Plinko, el juego de azar donde cada caída puede generar ganancias de hasta 1
- Πολυκατάτομος Τρόπος Κερδίσιμης Πορείας στη Sportaza